V10.5
Overview
A case can receive conversations in different languages. You can enable translation of these conversations in your chosen language using the Azure translation capabilities integrated within Conversation View component in a Solution.
Following are the steps to enable the translation feature in Conversation View:
| Step | Location |
|---|---|
| Add a translation service | Administration site |
| Connect the translation service to a Solution | Administration site > Solutions |
| Use translation in Case conversation | Portal site |
Add a translation service
To use the translation feature in Conversation View you need to add translation service in the Admin site.
- In the Admin site, click AIServices>Translation Services.
- Click Add New Record.
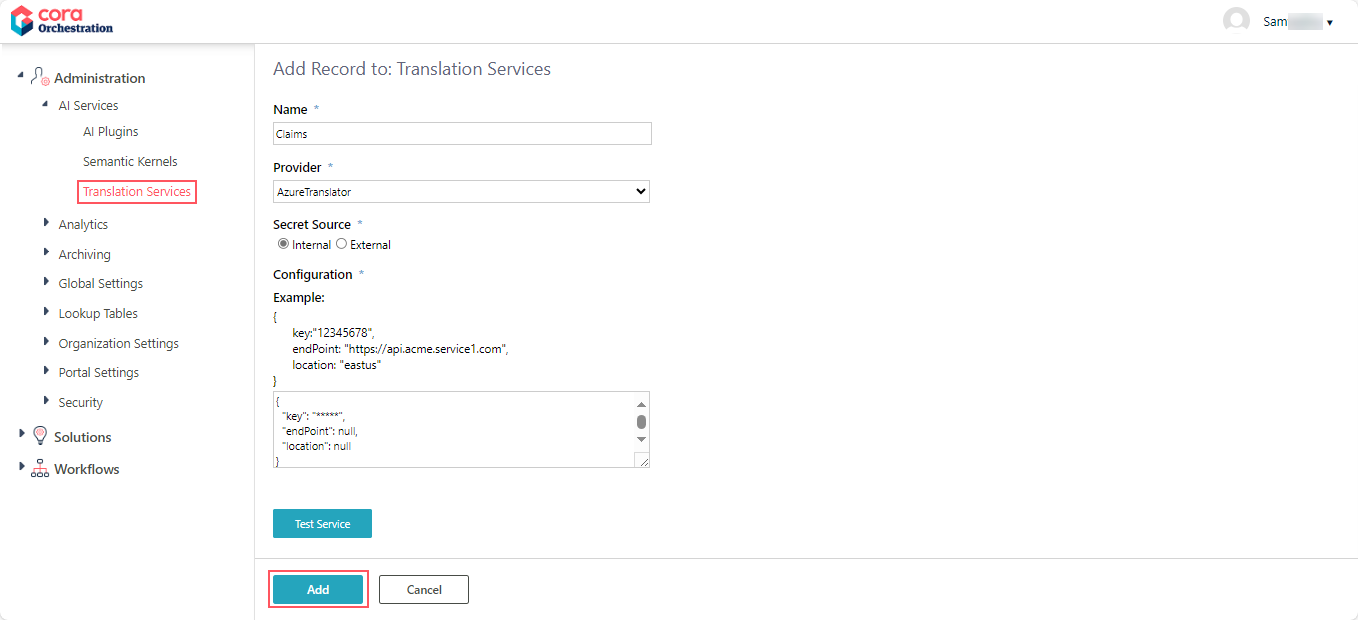
- Add the details:
- Service name: Unique name of the translation service.
- Service provider: It is AzureTranslator for now.
- Secret source: Select whether the translation service source is internal or external.
- Configuration: Add configuration.
- Click Test Service to test the service configuration you have added.
If the service test fails - Click Add.
Connect translation service to a Solution
Once you create the translation service, you need to connect the translation service to the Solution.
- In the Admin site, open the solution to which you want to connect the translation service to.
- In the Solution Components section, click Conversation View.
- In the Conversation View window, go to General Settings>Translation Services.
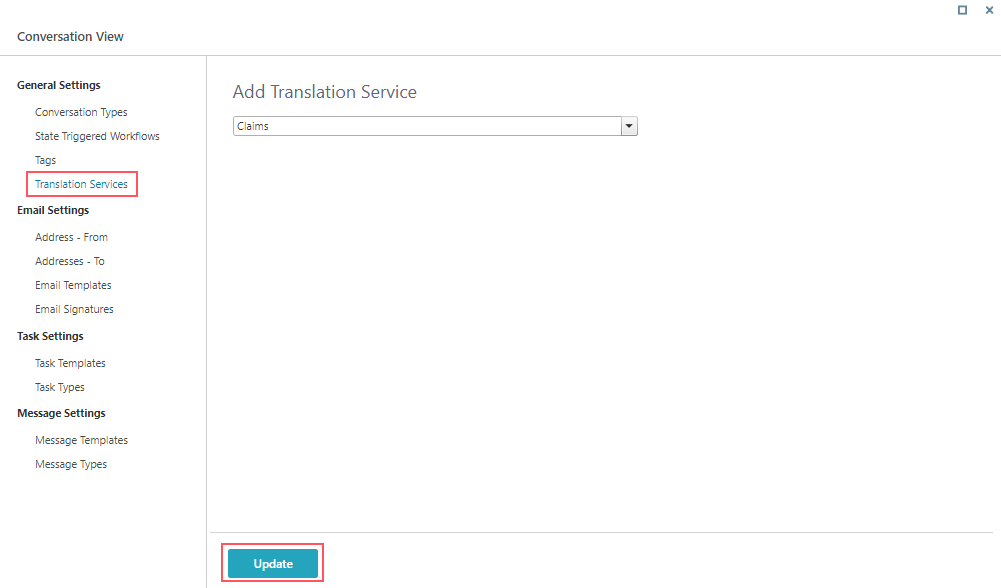
- Select the service.
- Click Update.
Use translation in Case conversation in the portal
The end users can now translate conversation items using the case conversation translation feature.
For details, see the Conversation translations section in this article.
