Context
Use the Email Activity to send an email to either an internal Cora SeQuence mail, or to external email addresses as part of a workflow. The main advantages of the Email Activity are that you can include recipients as Cc or Bcc.
Important Notes
- This activity behaves differently than the Message Activity or the message in a Task Activity.
- The email that is sent in this activity is not stored in tblActionitems.
- Users cannot view the email in their Flowtime Inbox.
- This activity should only be used for notifications and when user interaction is expected.
- When you use an expression that contains HTML content (such as form data, HTML forms, HTML controls, rich text editors) in the body section of the Email Activity or Message activity, you need to wrap the expression inside {{= }} to render the expression in HTML format.
For example,{{= {Form1}.Query("Form1")["Editor1"] }}.
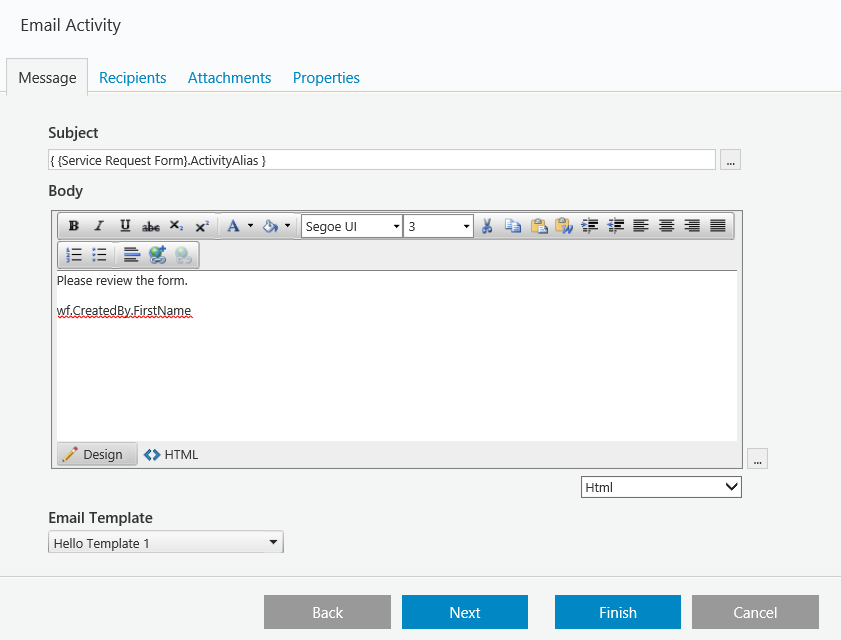
Message
The message is based on an email template. You can create new email templates from Administration > Global Settings > Email Templates. If you do not select an email template, a default template is used. The email template is only relevant for HTML and HTML (Markup only) messages. If you create the message in plain text mode, you cannot modify the template selection.
Mandatory fields:
- Subject: Subject of the email.
- Body: When you use an expression that contains HTML content (such as form data, HTML forms, HTML controls, rich text editors) in the body section of the Email activity or Message activity, you need to wrap the expression inside {{= }} to render the expression in HTML format.
For example,{{= {Form1}.Query("Form1")["Editor1"] }}.
Recipients
At least one recipient field is required.
- To
- Cc
- Bcc
Click the icon next to the recipient field that you want to add recipients to.
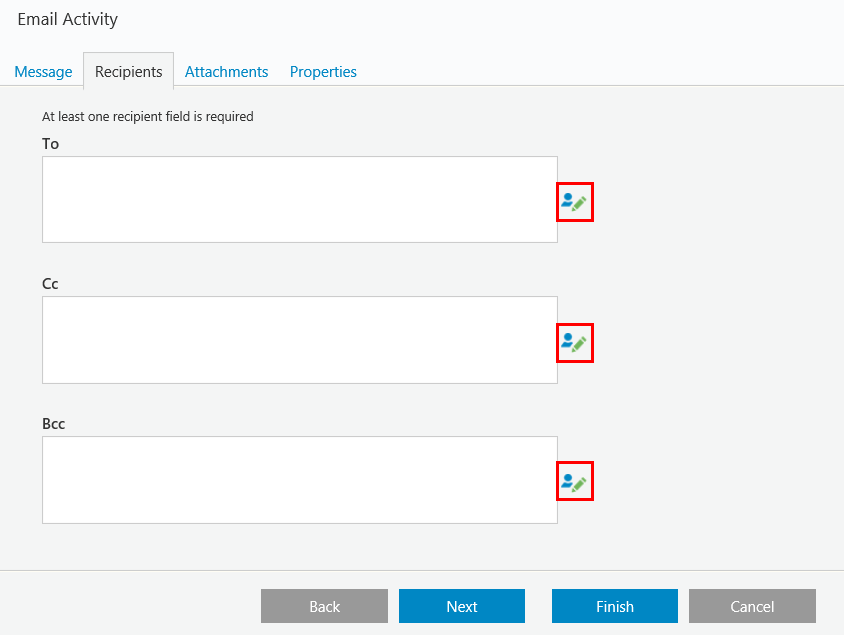
- The expression should return an email address, not other properties such as UserId.
- Enter email addresses for each expression row. Click Add Expression to add another recipient.
- You can edit the Display Name.
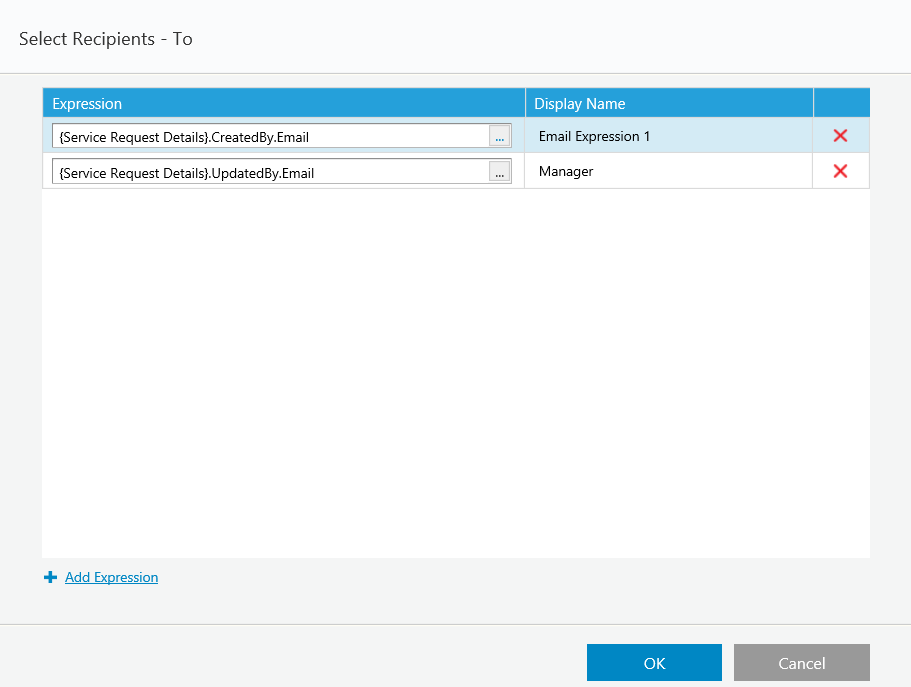
To add several email addresses, use an expression that returns a string array.
Example:
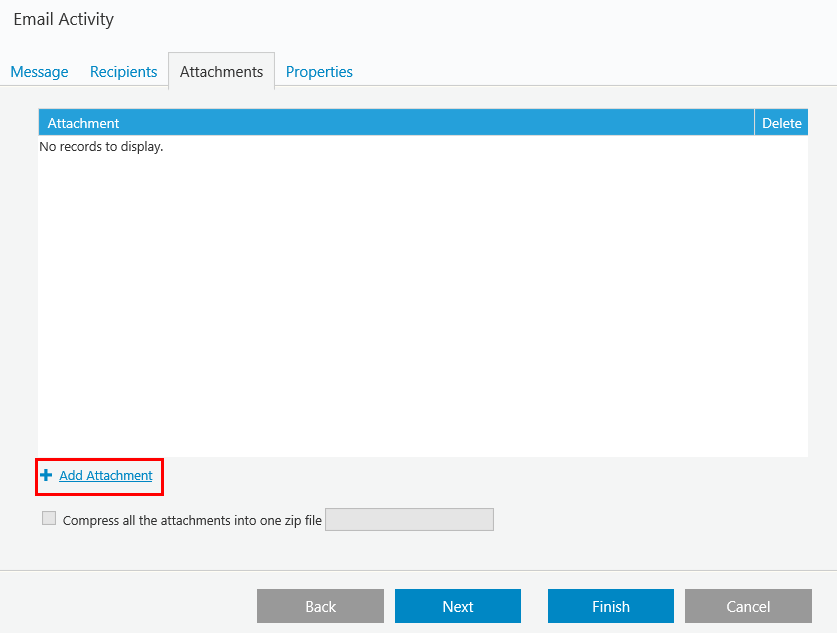
new string []{"name1@company.com","name2@company.com"}Attachments
You can choose to compress the attachments into a ZIP file.
Add an attachment
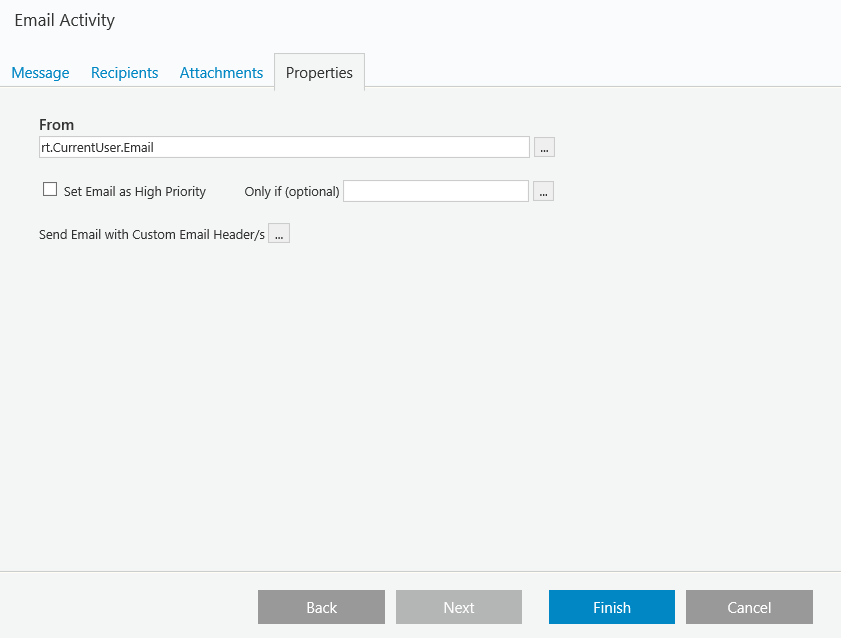
Properties
You can define several email properties.
- From: email sender
- Set Email as High Priority: define the email as high priority.
- Only if: if the Set Email as High Priority is selected, define the condition for which it is applied to the email.
- Custom Header(s): define customer email headers.