V8.7-9.x
Starting with V8.7, Flowtime uses a new theme: Cora. You can customize the new theme using two sets of variables: one that changes the look and feel of the Flowtime website and another that changes elements in task forms.
Files
| File name | Description | Default design |
|---|---|---|
| CustomPortalVariables.less | Includes variables that change the UI elements in the Flowtime website. | 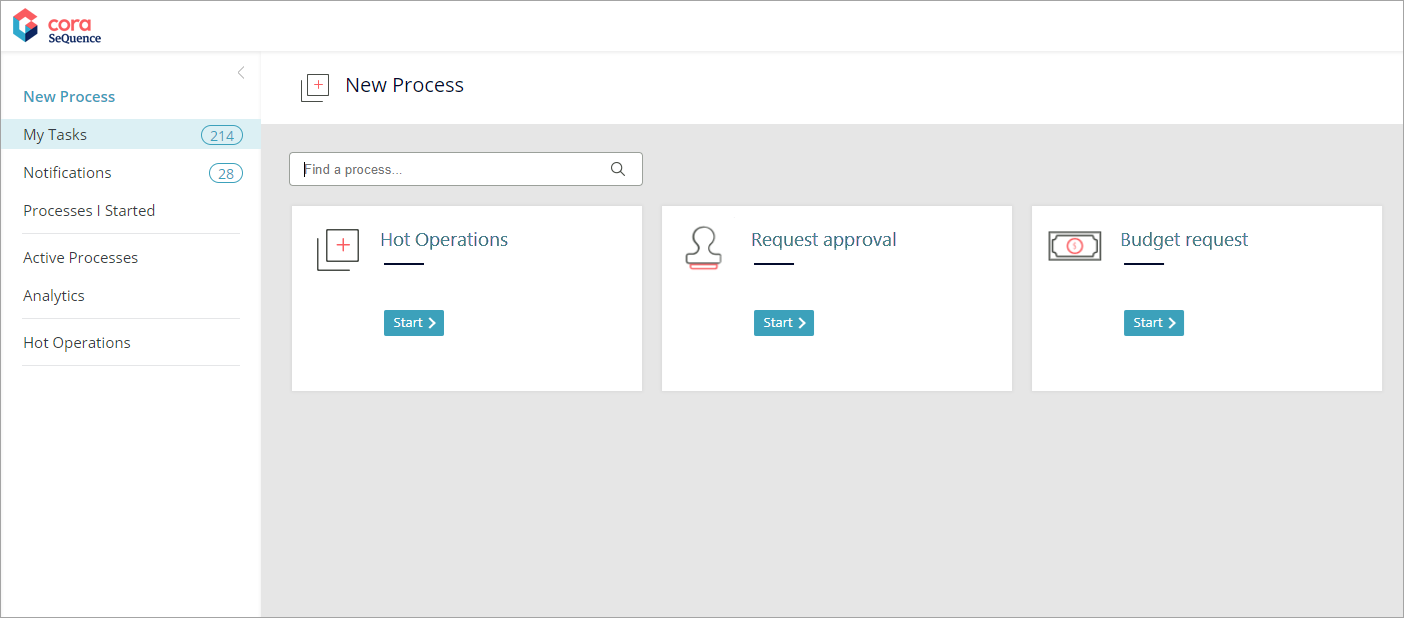 |
| CustomWorkflowsExplorerVariables.less | Includes variables that change the elements on the left panel and top menu of form pages (marked in red in the screenshot on the left). | 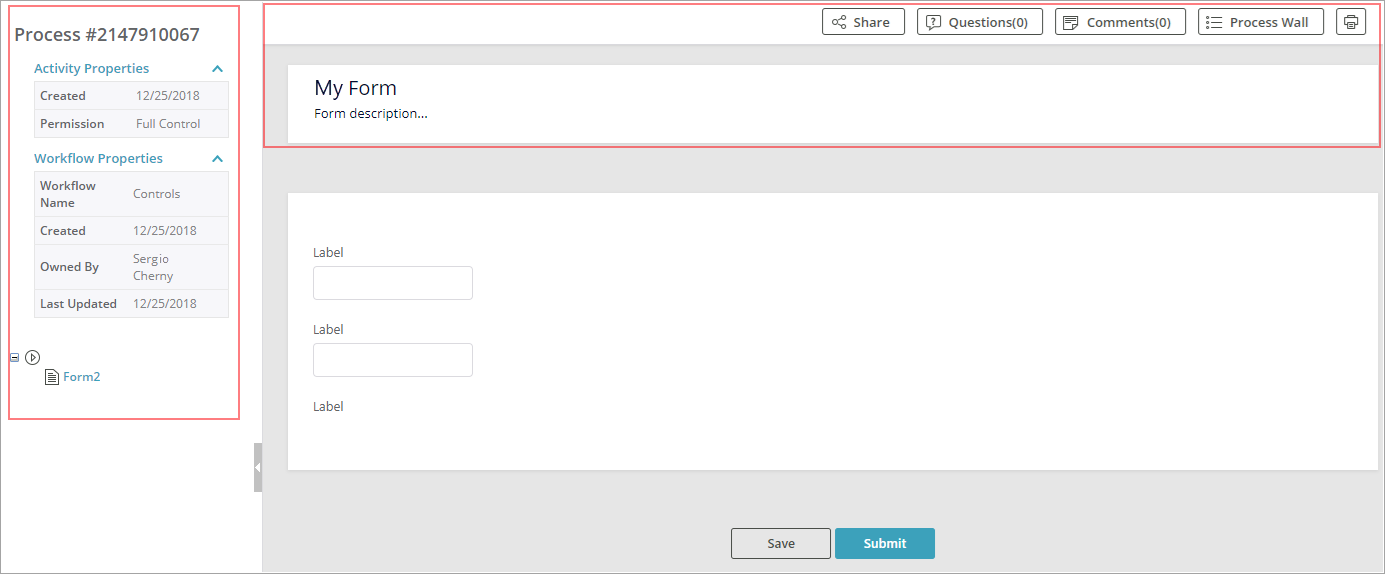 |
File location
| Version | Location | |
|---|---|---|
| Starting V8.7 | <server name>\Program Files\PNMsoft\Shared Resources\Themes\Cora | 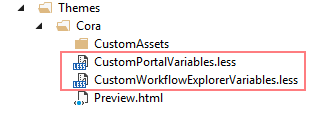 |
| V9.x | C:\inetpub\wwwroot\Cora SeQuence\Flowtime\Shared Resources\Themes\Cora |
Before you begin
- Back up the SharedResources folder.
- Copy the entire SharedResources folder to the building machine.
- Make sure that the Web Compiler 2022+ extension is installed on your Visual Studio (https://visualstudio.microsoft.com/downloads/)
Add or edit design variables
- From the Shared Resources folder, open the PNMsoft.Sequence.Web.SharedResources.Themes.csproj located in the Shared Resources folder.
Note: Open the file using Visual Studio with the Web Compiler extension.
- Add or edit the required variables in the relevant file: CustomPortalVariables.less or CustomWorkflowsExplorerVariables.less.
- Save the LESS file.
- When you are done, replace the SharedResources folder on the target server with the updated folder.
- Preview your changes on Flowtime to validate that they have taken effect properly.
Examples
| Change | Variable configuration |
|---|---|
| Change the color of Flowtime's header background color | @portal-header-bg-color: #0070EF; |
| Change the logo | @portal-logo-image: url(https://images.pexels.com/photos/12734337/pexels-photo-12734337.jpeg?auto=compress&cs=tinysrgb&w=1600&lazy=load); |
For a list of the most common variables, see the article Flowtime design variables.
Preview changes in the Flowtime UI
Valid ONLY for Version 8.
You can run a Preview.html file to view how your changes affect Flowtime UI elements.
- Go to <server name>\Program Files\PNMsoft\Shared Resources\Themes\Cora, and open the Preview.html file.
- Preview how your changes affect the Flowtime UI.
The Preview page displays labels with the names of the variables next to the UI elements controlled by the variable.- To show or hide the labels, click Show Variables.
Example
| Edited variable | Preview |
|---|---|
@primary-color: #FF555F | 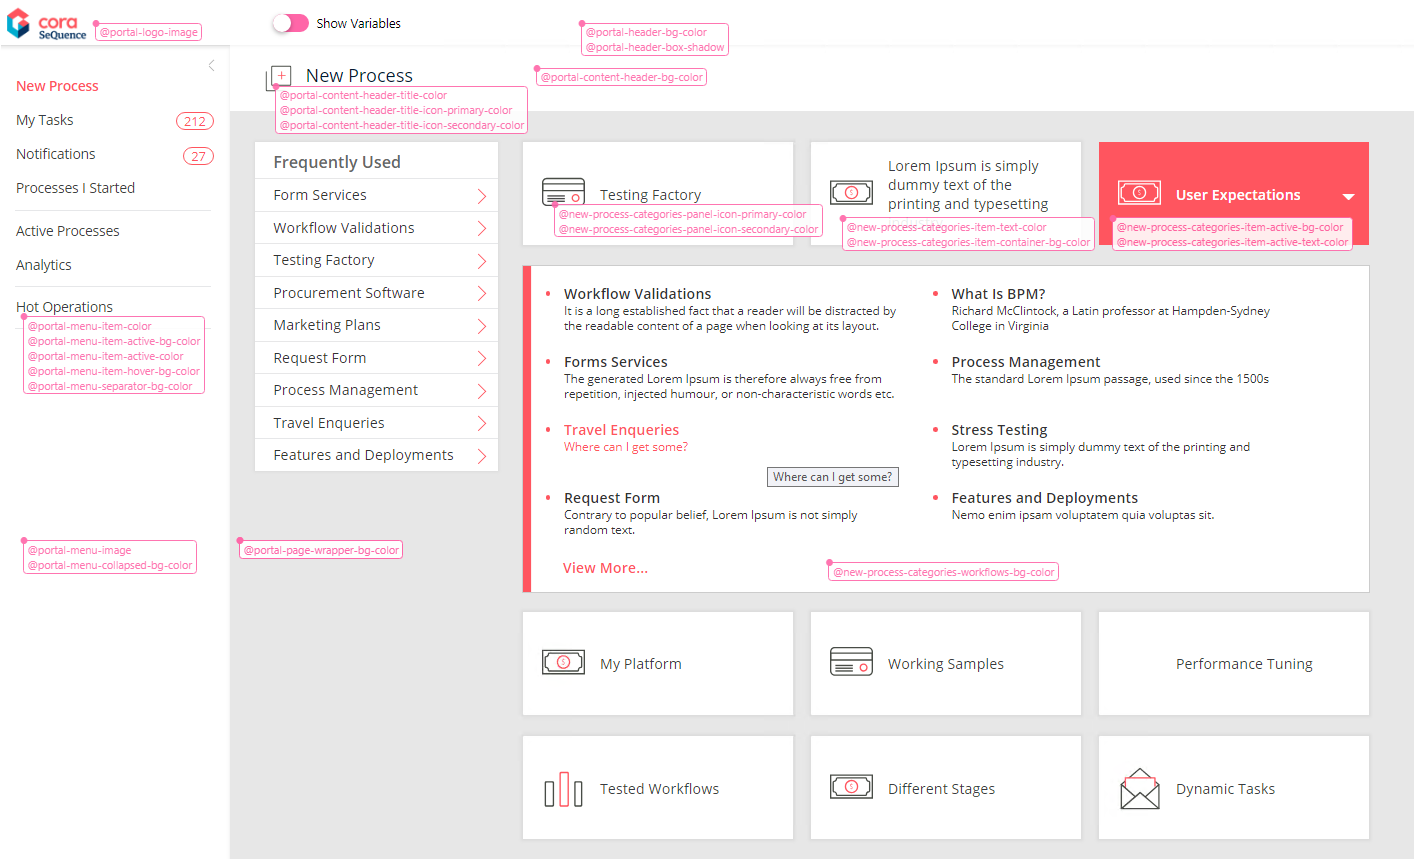 |
NOTE:
The Preview file works only with the Cora theme.
Preview is available only for the New Process and My Tasks pages.
Copy customized theme to other servers
If Flowtime is installed in more than one server, you can copy the changes you made in one server to the other one.
- On the server where you made changes to the Cora theme, go to the Shared resources folder location, and make a copy of the Cora folder.
- Paste the copied Cora folder to the same location on the target server.
Display workflows on the homepage
In the Cora theme, the New Process homepage displays a list of workflows instead of categories, but systems that upgrade from previous versions still display categories.
- To display workflows on the New Process page, edit the Flowtime Web.config as follows:
<system.web>
<urlMappings>
<add url="~/default.aspx" mappedUrl="~/workflows.aspx" />
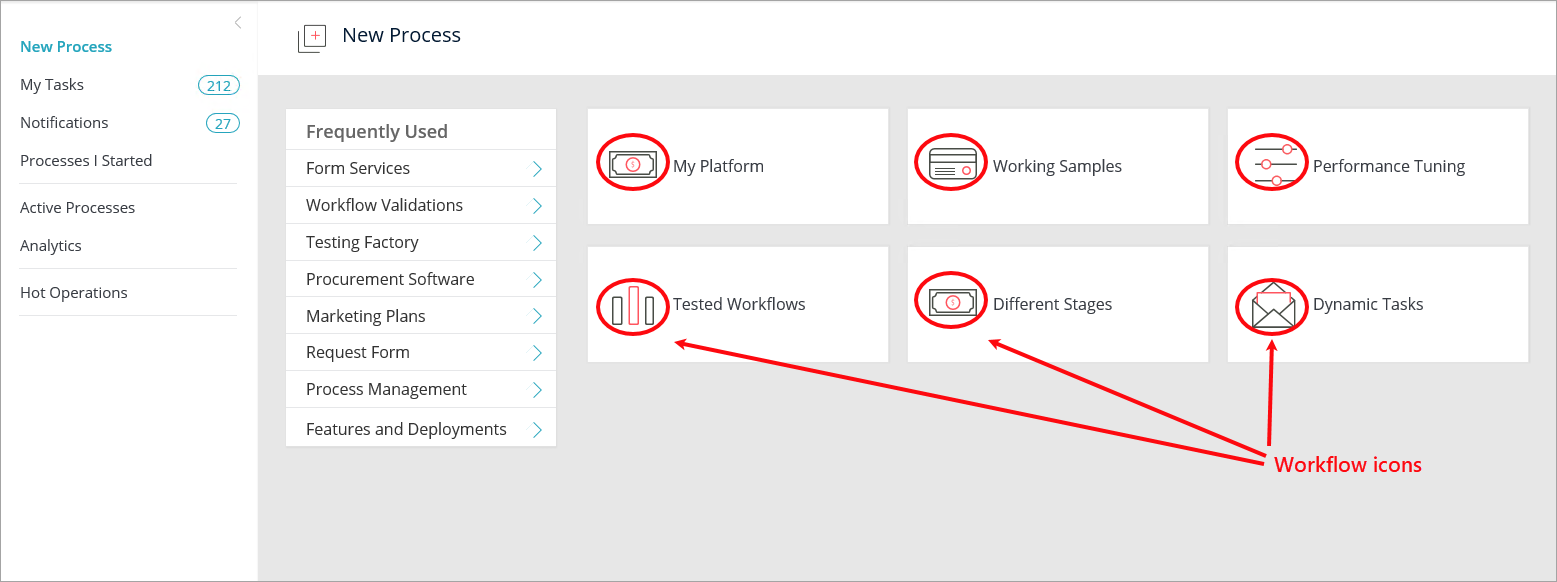
</urlMappings>Add icon to workflow
When you set up a workflow in the Admin console, you can select an icon to display next to the workflow name on the New Process page.
Procedure
- In the App Studio, click the workflow canvas to show the workflow's Properties panel.
- Under UI>Icon, click the ellipsis button.
- From the Select Icon screen, click the icon that best fits your workflow, and then click OK.
The icon displays next to the workflow name on the New Process page.
Add icon to Flowtime page
You can select an icon to display at the top of a Flowtime page.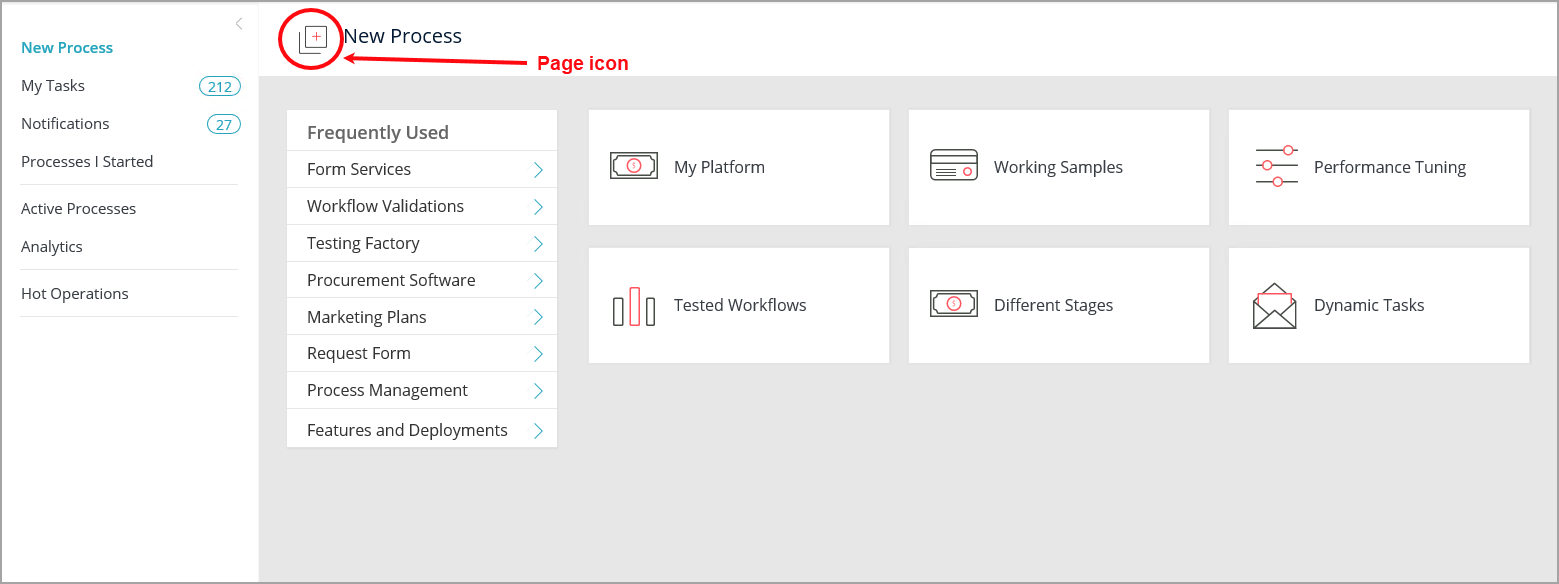
Procedure
- Go to the Flowtime application's folder, and open the ASPX file of the page to which you want to add the icon.
- Set the value of the
IconIdparameter to the name of the icon.
Example: MyTasks.aspx
<%@ Page Title="My Tasks" ResourceTitle="MyTasks" IconId="sqpi-MyTasks" MenuId="Portal" SubMenuId="MyTasks" SelectedMenuItemId="MyTasks" SelectedSubMenuItemId="MyTasks" Language="C#" AutoEventWireup="true" CodeBehind="MyTasks.aspx.cs" Inherits="PNMsoft.Sequence.Runtime.Web.UI.Pages.MyTasks, PNMsoft.Sequence.Runtime.Web.UI, Version=8.0.0.0, Culture=neutral, PublicKeyToken=0a1a1b90c1c5dca1" %>
<%@ Register TagPrefix="sq" TagName="UserMessagesGridControl"
    Src="~/_controltemplates/Flowtime/UserMessagesGridControl.ascx" %>
<asp:Content ID="Content" ContentPlaceHolderID="Content" runat="server">
    <div class="sqpt-container">
        <div class="sqpt-grid-control">
            <sq:UserMessagesGridControl ID="UserMessagesGridControl" PageSize="20" DisplayVariables="true" ConfigName="Portal"
                runat="server" MessageInstanceViewItemType="TaskOnly" />
        </div>
    </div>
</asp:Content>
For a list of all the available icons and their names, see this article.
Upgrade from Cora SeQuence V8.7 to later Cora SeQuence versions
- Go to
C:\Program Files\PNMsoft\Shared Resources\Themes\Cora, and back up the following files:CustomPortalVariables.lessCustomWorkflowExplorerVariables.less
- Upgrade the server.
- Restore the backed up files to the Cora folder at target folder location.
- Open the LESS files in the Visual Studio with a WebCompiler extension, and save them.
